Map One: Nuke
LVG chose the map and started as the attacking side, but in the pistol round, they failed to coordinate an attack on the bomb site, allowing Fly Quest to secure an early kill. Although LVG managed to even the numbers, they couldn't push forward and ultimately lost the pistol round. In the next round, LVG opted for an ECO.
In the rifle round, LVG quickly pushed into the A site, just as Fly Quest left the bomb site open. LVG easily took control of the bomb site, and their two players in the back secured kills, allowing LVG to win. However, when LVG attacked the B site again, they lost the situation, allowing Fly Quest to regain control. Fly Quest gradually widened the score gap, and in the seventh round, they took down one player at the iron door, then executed an explosive play at the A site, but
In the second half, Fly Quest took the attacking side, and in the pistol round, they launched an attack from outside. After a firefight, it resulted in a 3v3 situation, but Fly Quest planted the bomb at the A site and easily secured the win. In the next round, a strong push from LVG couldn't withstand Fly Quest's outside attack, leading Fly Quest to match point. LVG's economy was poor going into the match point round, and they ultimately lost Map One.

Map Two: Vertigo
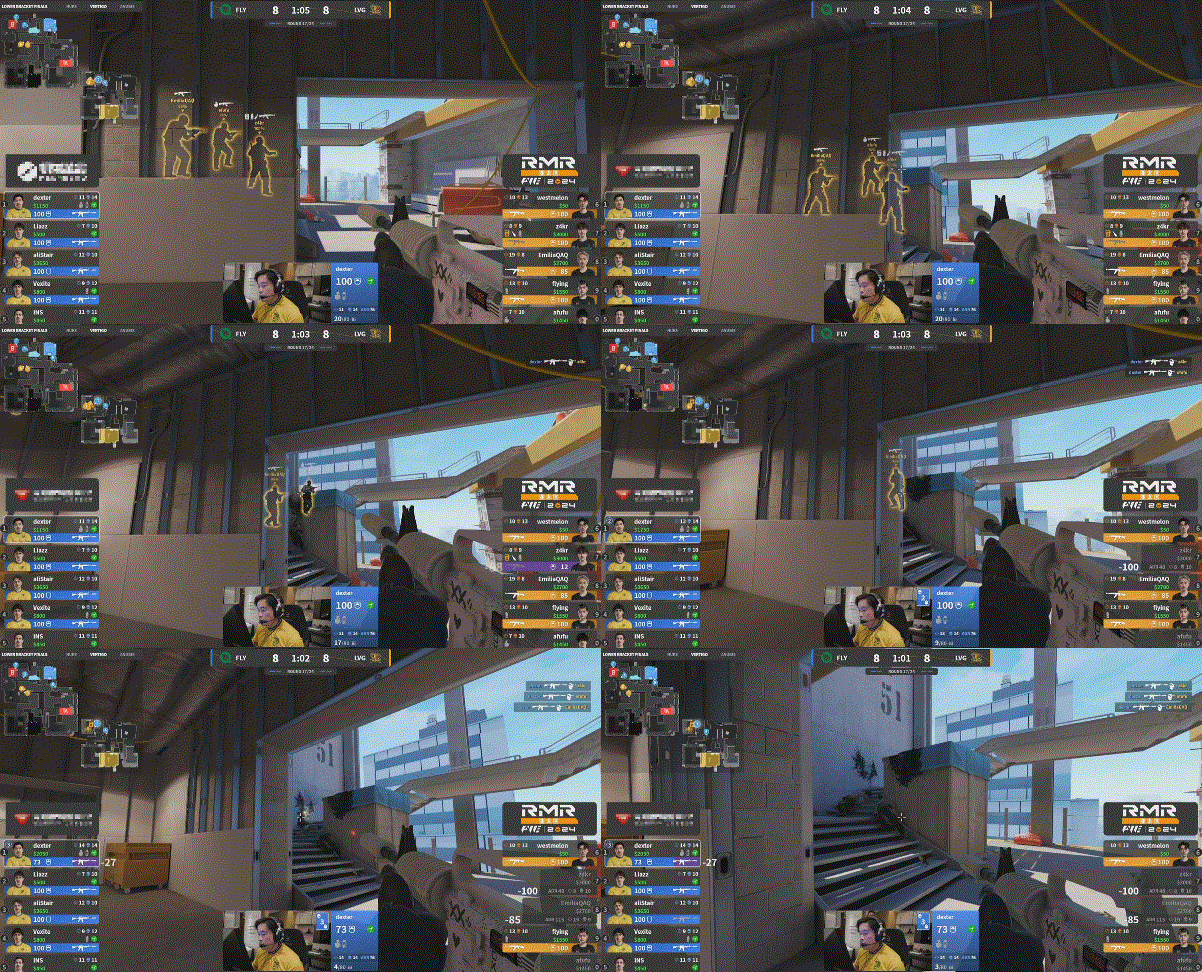
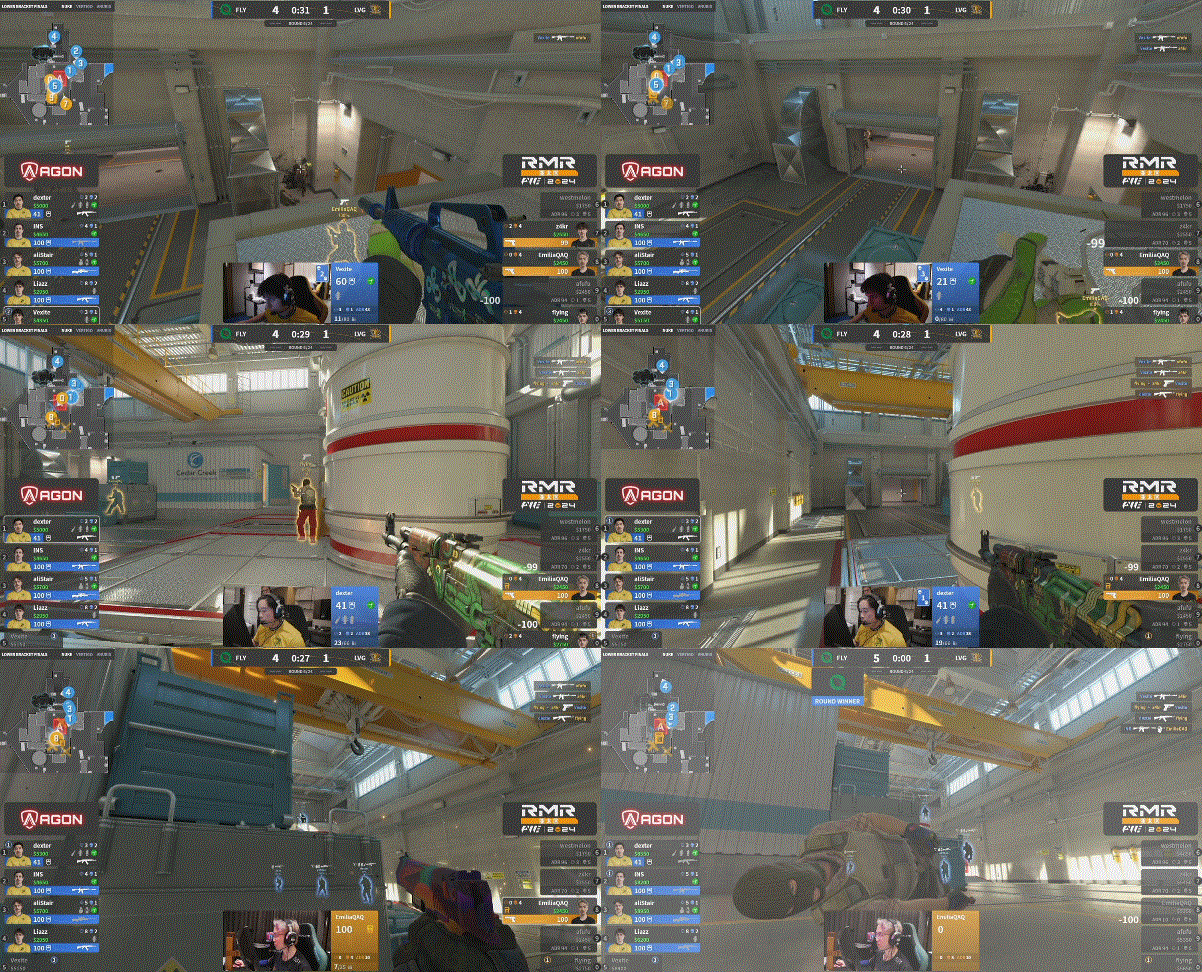
Fly Quest chose the map and started as the attacking side. In the pistol round, they easily took control of the bomb site using utility and secured the win against LVG's defense. In the next round, LVG went for a full eco.
In the rifle round, LVG aimed to take control of the A ramp, but Fly Quest gained a numbers advantage. Fly Quest then shifted their attack to the B site, and three players executed a direct push to secure the win. In the fifth round, LVG finally scored a point thanks to

In the second half, LVG took the attacking side and won the pistol round with a mid-B strategy. In the next round, Fly Quest opted for a full eco.
In the rifle round, LVG chose a slow-paced attack. After
